
Packing starts with the shape of the prop and the way it will reach your display space. A wide flower arrangement, a tall character, and a group of small display pieces bring different questions. We work through those questions alongside the design, then test assemble the props in our workshops before shipment. Here is what to discuss with us when planning an overseas window display or retail installation.
Start with the assembled size and the site entrance
Send us the overall height, width, and depth of the proposed display, together with the dimensions of its individual pieces. Our brief checklist lists what else to send.
Tell us about the route from the receiving area to the final position. Door openings, elevators, and tight turns are useful details to include. An assembled prop may need to be divided into sections for access, even when its final position has plenty of room. Mark those constraints on a drawing or send site references with your custom window display prop brief.
Cartons and EPS for props under one meter
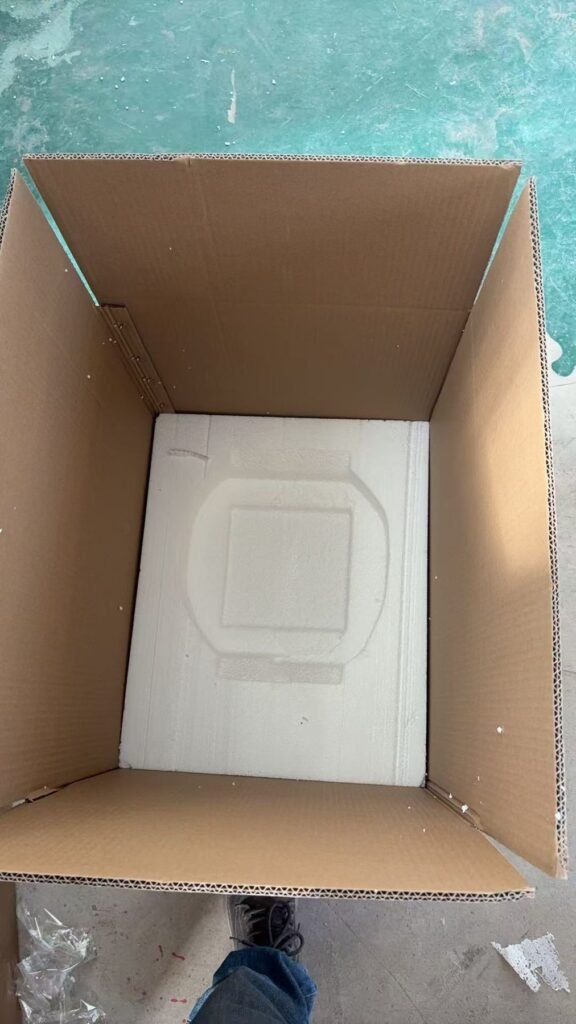
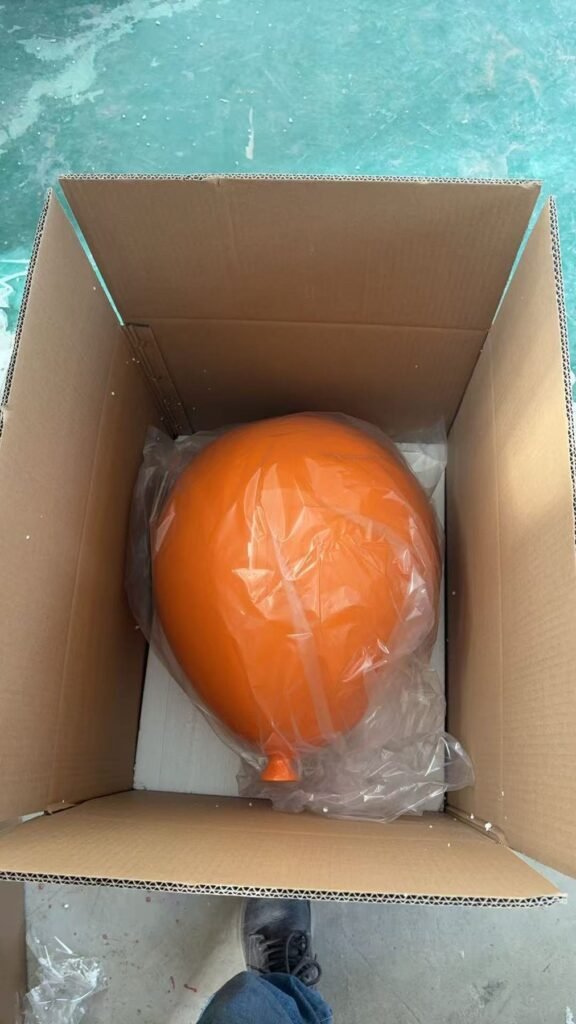
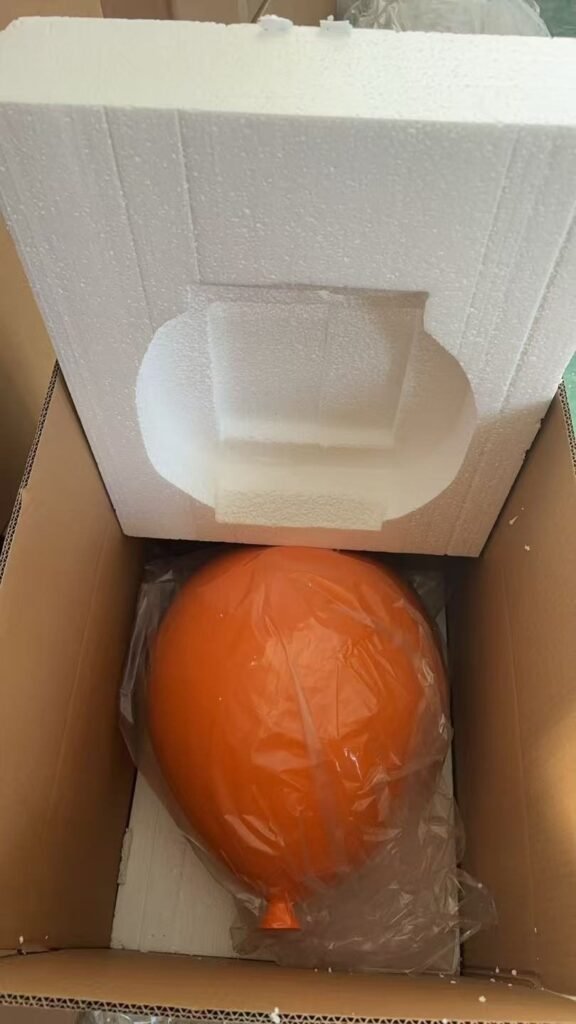
We use cartons with EPS foam for props under one meter. In the packing sequence below, a lower insert sits inside the carton, the bagged prop is placed into it, and a shaped upper insert completes the support around the object. This is one example of how we fit the packing to a particular form.
Give us the complete outline of the piece, including any projecting details. For a set with several shapes, send each shape and its quantity. A single overall display measurement does not describe every item that needs packing.
Wooden crates for large or fragile pieces
We use wooden crates for large or fragile props. Size and fragility both matter: a delicate shape needs attention even if it is smaller than the main feature in a window. Share the design of thin extensions, broad surfaces, and separate decorative elements when we review the structure and packing.
Our display prop projects include both individual hero pieces and scenes with several components. Use a relevant example to explain the type of display you have in mind, then send your own dimensions and layout. The packing discussion should follow your actual design and quantity.
Plan split sections together with their connections
We can divide large props into sections at your request and provide connectors where the sections join. Raise this requirement while we are reviewing the model and structure. Tell us whether the priority is access through a restricted entrance, handling individual components, or assembling a large form at its final position.
Ask us to review the proposed joins alongside the finished appearance. A connection belongs in the design discussion, together with the support, surface finish, and assembly arrangement. Our fabrication capabilities cover this work from structure through test assembly. Agreeing these details before production gives both teams a clear version of the prop to work from.
Review the test assembly before shipment
We test assemble the props before shipment and send photos and videos for your confirmation. This is the point to review the assembled form and how the components come together. Keep the approved drawing or model available when you review the images, and send any questions about the assembly back to us.
For a display with repeated pieces, include the required quantity of each type in your brief. For a scene with several different elements, make the layout clear as well. Our giant chess piece project is a useful reference for a group of distinct shapes, while the giant white flower wall offers a reference for a composition built from multiple elements.
Use the confirmation stage to resolve questions about the agreed arrangement before the props are packed. If your installation team needs a particular view of a joint or an assembly step, tell us what they need to understand.
Confirm the destination and shipping arrangement
We ship display props to Europe and the US. Include the destination country, city, and delivery location in your inquiry, together with the planned installation date. For a seasonal window or launch, we work backward from that date when discussing the project schedule.
EXW, FOB, CFR, CIF, and DDP are available terms to discuss for your project. Tell us your preferred arrangement, if you have one, when you send the brief. Keep the destination details, requested delivery timing, and agreed shipping term together in the project correspondence so both teams are working from the same information.
Prepare your installation team
We provide installation instructions. If you would like someone from our team to attend the site, on-site support can be discussed at your request. Tell us about that requirement early, along with the location and installation date.
Share the instructions and test assembly material with the people who will put the display together. Ask them to review the proposed access route and assembly arrangement before shipment. If the site layout changes, send the updated information to us. The display design, split sections, and installation plan need to refer to the same final arrangement.
What to send for a packing and shipping discussion
We can start with the information you already have. A useful brief brings the design and destination together:
- Reference images, drawings, or a 3D file, with the overall dimensions.
- The individual shapes and quantities, including separate decorative elements.
- Door, elevator, or turning restrictions along the route to the display space.
- Any requested split sections and questions about the connections.
- The destination, installation date, and preferred shipping arrangement.
- The installation team’s questions and any request for on-site support.
Send these details with your design so we can discuss the structure, packing, and delivery as one project. From a single oversized prop to a repeated display set, we start with the form you want to create and the practical information needed to get it into position.