
A useful window display prop brief explains what the piece needs to do, where it has to fit, and when it needs to arrive. A reference image starts the conversation; the details around it help us plan the work.
We can start with reference images, 2D drawings, or 3D files. When you have only images or 2D drawings, we develop the 3D model and structure. This checklist covers the information we need to discuss your custom window display props, from the first idea through packing and installation.
1. Describe the display and its purpose
Tell us whether the prop is for a seasonal window, a product launch, an in-store display, a pop-up, or a brand event. Explain how it relates to the merchandise: a central feature, a backdrop, or one part of a larger scene.
We also need to understand how people will view it. List the visible sides, the viewing distance, and any areas that must stay clear. You can use our project examples to identify a direction, then explain what you want to change.
2. Send references with a clear purpose
Share the images, sketches, drawings, or 3D files you already have. A front view helps us understand the silhouette; side and rear views help explain depth and connections. If the references show different ideas, label what each one contributes.
One image might define the shape while another defines the color or surface. Mark the features you want to keep, simplify, or replace. We can then discuss your intended design without treating every detail in a mood board as a production instruction.
3. Give dimensions for each piece
Include height, width, and depth, with the unit stated beside every measurement. Separate the overall display size from the dimensions of individual props. Add the available floor area or window opening, and tell us which dimensions are fixed.
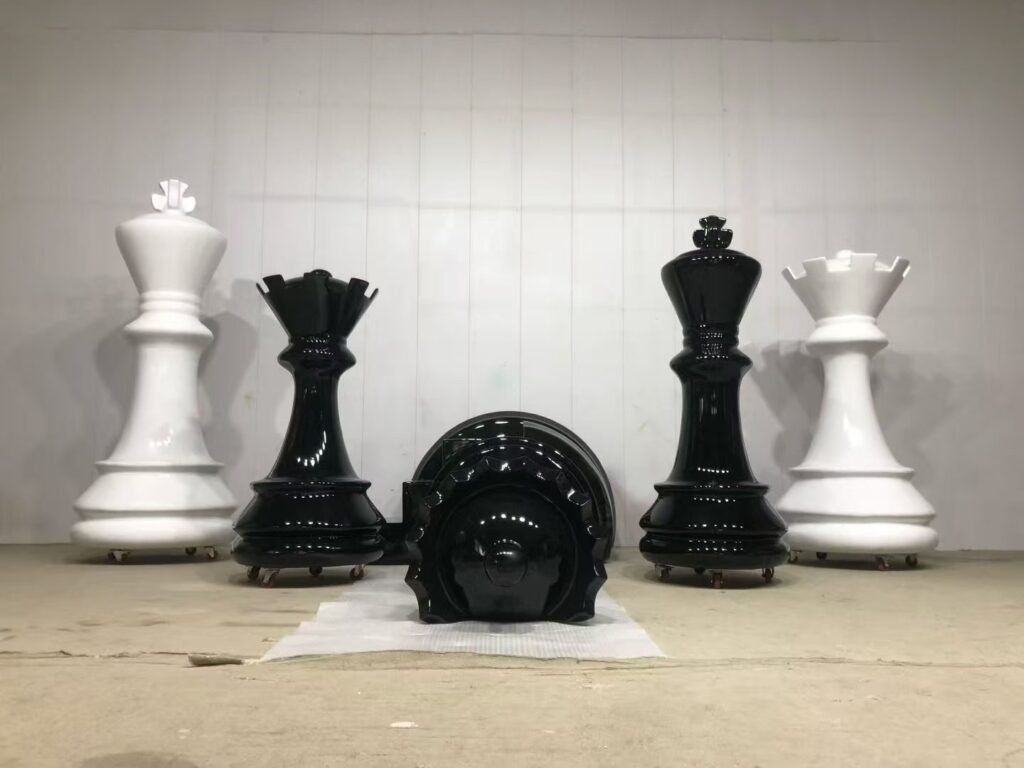
For a group such as our giant chess display props, list the required size of each form. Include bases, stems, and projecting details in the space allowance. We need the dimensions of the complete piece as well as the area it occupies.
4. Break the quantity down by design and location
We make individual pieces and repeated batches for multiple stores. State the quantity of each design, then split it by size, color, and destination where those vary.
A total of twelve pieces tells us less than a list showing which designs belong in each store. If one location needs a different height or finish, identify that version separately. Note whether all pieces are needed together or whether stores have different delivery dates.
5. Specify color and surface separately
Describe the color and the finish as two decisions. A red gloss surface and a red flocked surface have different visual qualities. Send the color reference you want us to work from, along with a close-up or sample reference for texture and sheen.
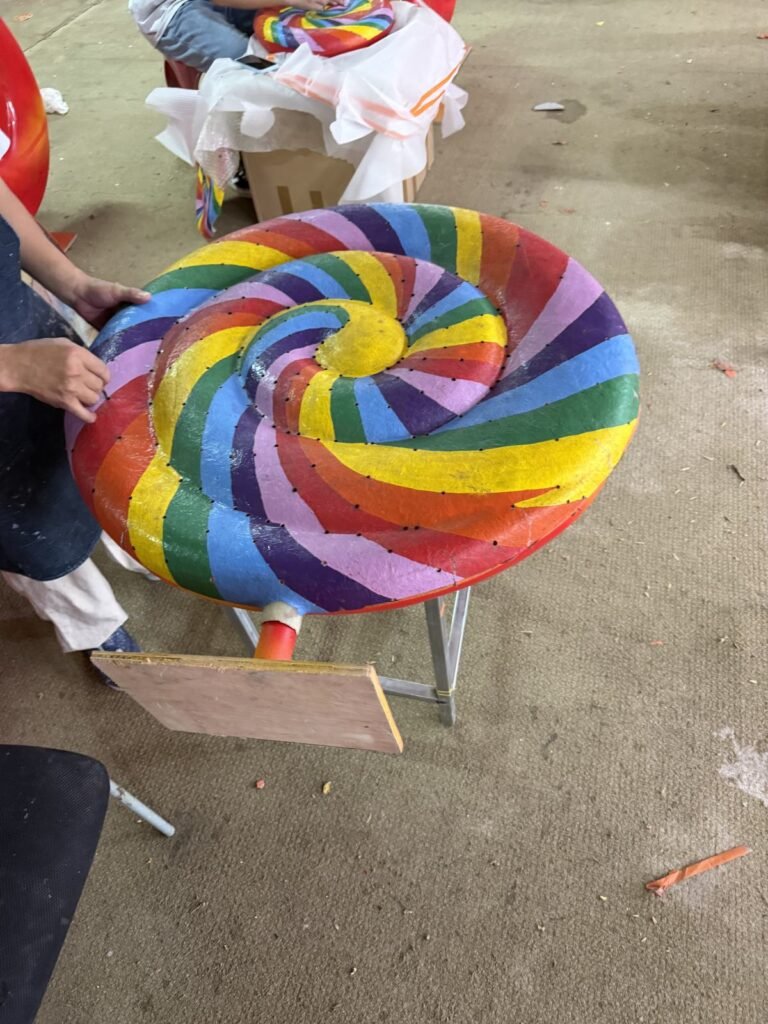
For a design such as our giant lollipop display props, show the order and placement of the colors as well as the overall palette. Mark which details must match across the batch and which can vary.
6. Tell us what is decided about the material
If a material is specified, include it in the brief. If it is still open, explain the intended use and the surface you want. We can discuss the available routes through our fabrication capabilities.
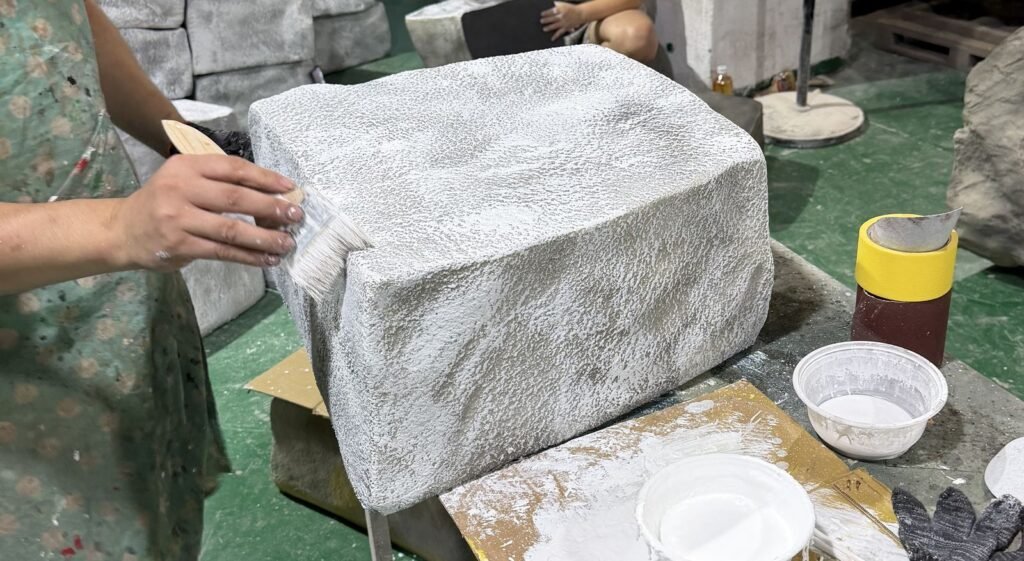
A finish reference does not need to settle the underlying construction. Describe whether the surface should be smooth, textured, transparent, or flocked, and identify any area that needs a different treatment. We review the shape, structure, and finish together before the fabrication details are agreed.
7. Describe delivery access and installation
Give the delivery city and country, plus any restrictions between the unloading point and the display position. Measure doors, elevators, narrow corridors, and tight turns. Include these limits even when the display area itself is large.
We can divide large pieces as requested and make connectors for the separated sections. Tell us who will handle assembly and whether the piece will be installed before or after other display elements. We provide installation instructions, and on-site support can be arranged on request. These needs belong in the brief.
8. Separate the campaign date from the delivery date
State when the campaign opens, when installation starts, and when the props need to reach the receiving location. We plan seasonal work backward from installation, so an opening date alone leaves an important gap.
Sampling generally takes about 10 days and production about 30 days, with timing confirmed for each project. Tell us when your team can review the sample and who will approve it. Include any fixed receiving window so we can plan fabrication, packing, shipping, and installation as separate parts of the schedule.
9. Name the people who will approve and install
Give us a main contact and identify who approves the design, dimensions, color, and finish. If several people are involved, explain how the final decision will reach us. Note any approval that must happen before the next stage begins.
We test-assemble before shipping and send photos and video for customer confirmation. Include the installation contact’s questions early, particularly around separated parts and connections.
Your brief, ready to send
Use the following list to collect the project information in one place:
- Display purpose, location, and the role of each prop.
- Reference links with notes on the details to keep or change.
- Height, width, depth, and the units used.
- Quantity of each design, size, color, and store version.
- Material requirements, color references, and surface expectations.
- Delivery destination, access dimensions, and assembly arrangements.
- Campaign opening, installation start, and required delivery dates.
- Main contact, approval owner, and installation contact.
Use the inquiry form to start the conversation
Our form has fields for Name, Email, Company, and Country, followed by Project Description, Size & Quantity, Target Delivery Date, and Reference Links. Use Project Description for the intended application, finish expectations, delivery access, and approval arrangements. Include the delivery destination there if it differs from where you are based.
Put links to your drawings, mood boards, or reference images in Reference Links, and check that the recipient can open them. If a decision is still open, say so. We can begin with the information you have and work through the remaining details with you.