
A fiberglass display prop starts with the form you want people to see: a winged horse, a character, or a landscape built around merchandise. We make these forms in our workshops, moving from an approved design through forming, surface preparation, finishing, test assembly, and packing. Your decisions at each stage give the work a clear direction before the next stage begins.
This guide explains what to specify for custom fiberglass props and what to review along the way. For the wider range of shapes, materials, and applications we make, explore our custom window display props.
Start with the 3D form and structure
We can work from reference images, 2D drawings, or a 3D file. If you have images or drawings, we develop the 3D model and structure. At this stage, review the overall height, width, depth, silhouette, and relationship between the prop and the products around it. Include the main viewing direction and the space available inside the window.
Approve the form and intended arrangement before full-size forming. A character needs attention to its expression and proportions; a terrain scene needs attention to the relationship between its sections. Add access measurements and handling restrictions to the brief. Our window display prop brief checklist brings these details together for your team.
Review the shape during forming
We form the fiberglass parts around the approved design. The important review points are the large shapes and the smaller details that give the object its identity. For our fiberglass Pegasus display sculptures, these include the horse silhouette, wings, mane, and saddle details. Those features need to work together at the chosen scale.
Use progress photos to review the formed shape against the approved design. Raise changes to the pose, outline, or sculpted detail at this stage, before the surface moves into finishing. Identify the exact area and the intended change so we can review it with your team.
Refine the surface with sanding and filling
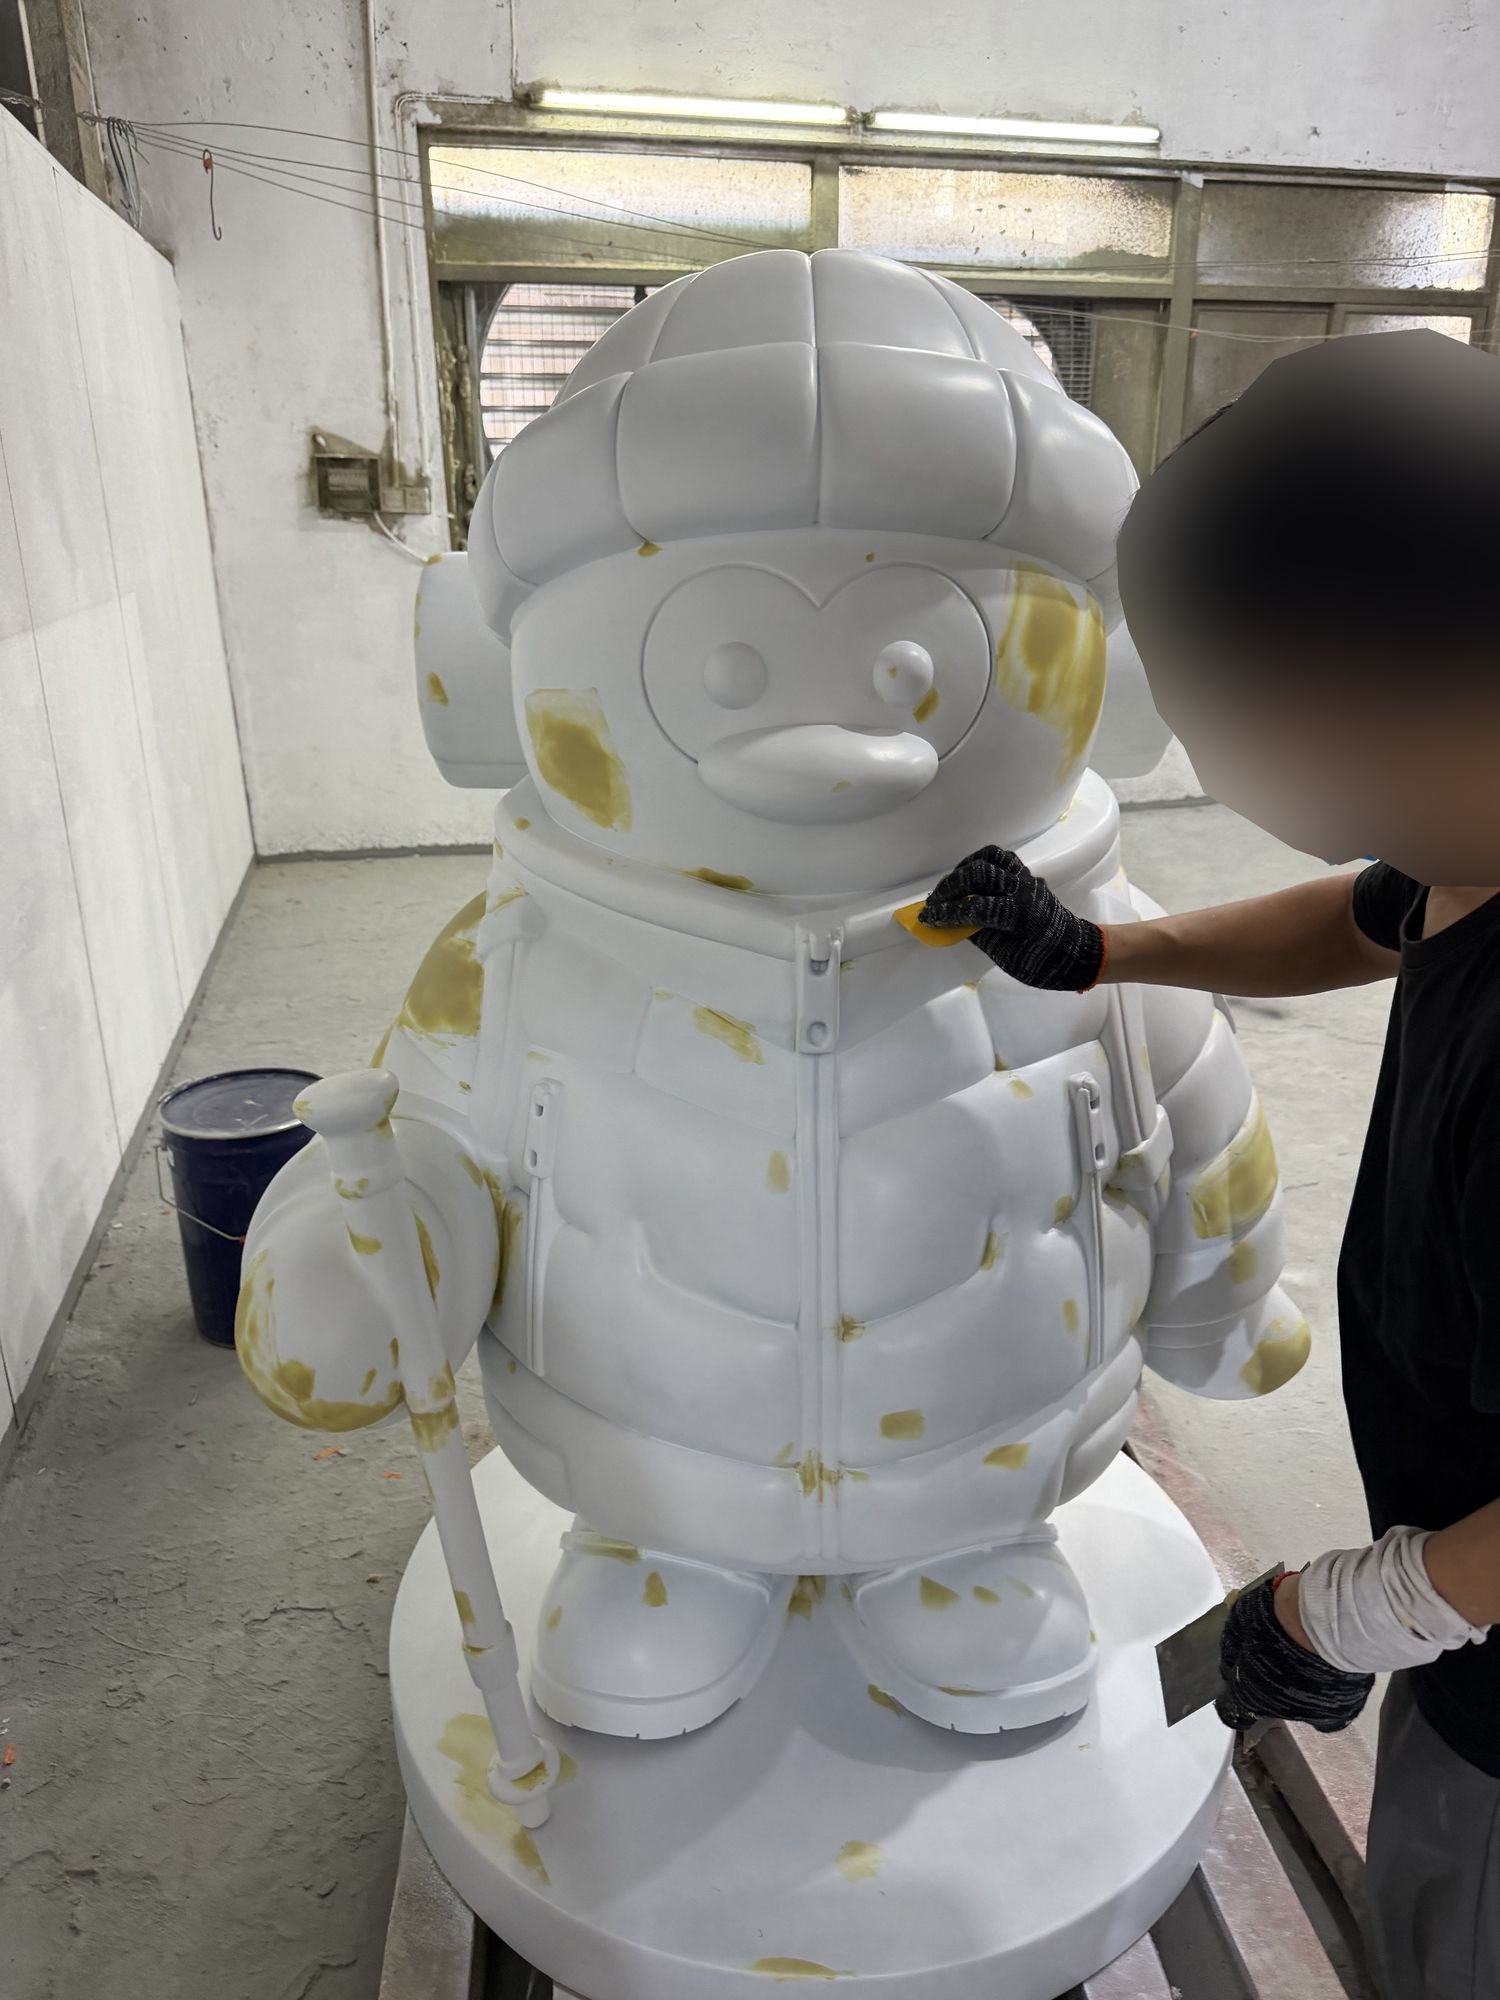
After forming, we sand and fill the surface. This stage refines transitions between adjoining forms and prepares the details for the chosen finish. On a sculpted character, the review includes facial features, costume edges, and the junctions around accessories. These small areas contribute to the overall appearance as much as the main silhouette.
Our custom fiberglass mascot project includes this surface preparation stage. Review the shape of the details before approving the move to finishing. Send comments together, with marked views where helpful, so that feedback on the face, costume, and other features can be considered as one set.
Approve a physical color and finish sample
For painted work, primer prepares the surface for the final topcoat. We agree on a physical color and finish sample before painting. Your approval should cover both the color and the intended appearance, such as a gloss, matte, or metallic paint finish. A color reference alone leaves the surface appearance open to interpretation.
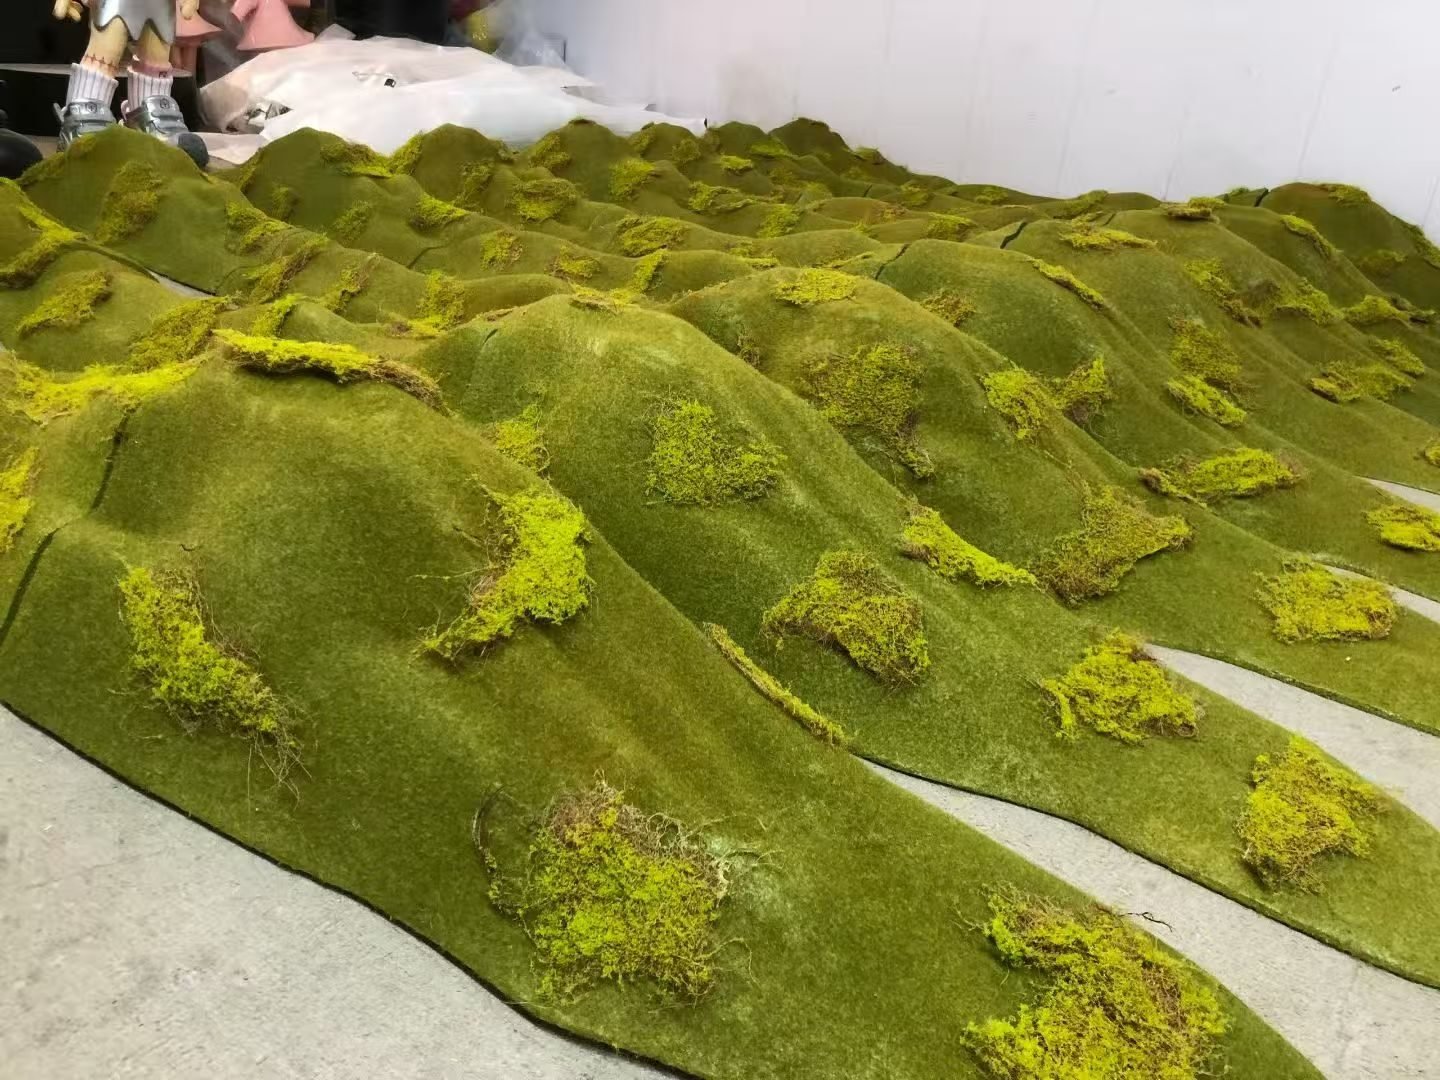
Other projects call for flocking, a faux-stone treatment, or a moss-covered finish. Our moss-covered terrain display props combine fiberglass contours with a green textured surface. Review the green tones and texture as part of the sample. The chosen surface should follow the project brief; our fabrication capabilities page introduces the finishes we offer.
Plan large sections and their connections
We can split large props at your request and provide connectors at the separated sections. Bring this into the design review alongside doors, elevators, turns, and available handling space. The overall display dimensions and the size of each transported section are different decisions, and both affect the plan.
Approve the proposed section boundaries and connection arrangement before production proceeds. Consider how a joint will sit within the finished silhouette and how the receiving team will reach it during assembly. For a grouped terrain display, include the intended arrangement of the modules. For a character or animal form, identify any projecting features that need separate consideration.
Use the approved sample for repeat pieces
We make single props and repeat batches. For repeated pieces, the approved sample provides the reference for production, and we check the batch parts individually against it. Keep the approved design, color, and finish references together so the same standard applies across the order.
Before approving a batch, make the quantity for each version clear. A size change, a different finish, or a revised detail should be identified as a separate requirement. This gives our workshops and your reviewing team a shared basis for comparing the pieces.
Test the assembly before packing
We test-assemble the props before shipping and send photos and videos for your approval. Review how the sections fit together, the overall appearance, and the agreed arrangement. This is the point to compare the assembled result with the approved design and check the details your installation team will need.
We provide installation instructions, and on-site support can be arranged on request. Tell us about that requirement during planning. Include any questions about the assembly sequence in your review so they can be addressed before the pieces are packed.
Match the packing to the completed prop
Props under one meter use cartons with EPS foam. Large or fragile pieces use wooden crates. Where a large prop has agreed detachable sections, the packing plan follows those sections and their connectors. Review the packed dimensions and the receiving arrangements alongside the assembly plan.
Our display prop packing and shipping guide explains how these decisions connect. Send your design, dimensions, quantity, finish reference, destination, and installation date. We can then review the fiberglass form, approval stages, sectioning, and packing as one project.